Arrrrhh! Pirate Frame
What a fearsome thing this pirate be! Arrrrhh! And what fun to create this Pirate Frame from Perler beads! You can even make it into a mask for Halloween with the addition of ties.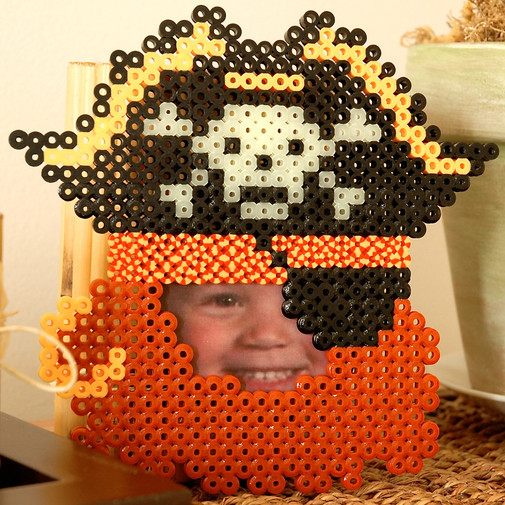
| 35% off All Bead Bags | <span style=font-weight:800>35% Off!</span> |
Butterfly House
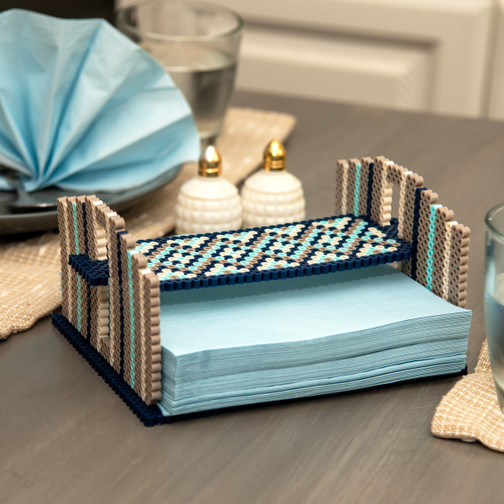
Napkin Holder

Unicorn Carousel

Watering Can Door Decor
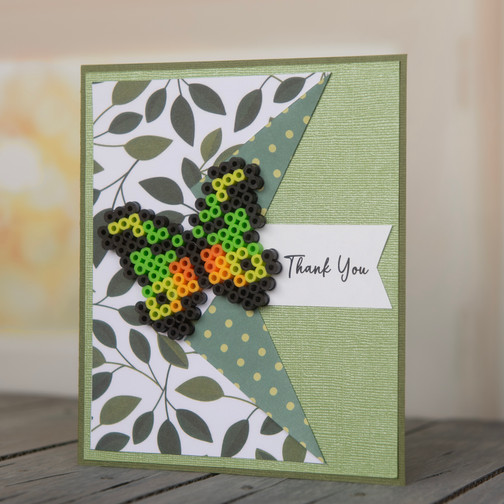
Butterfly Thank You Card
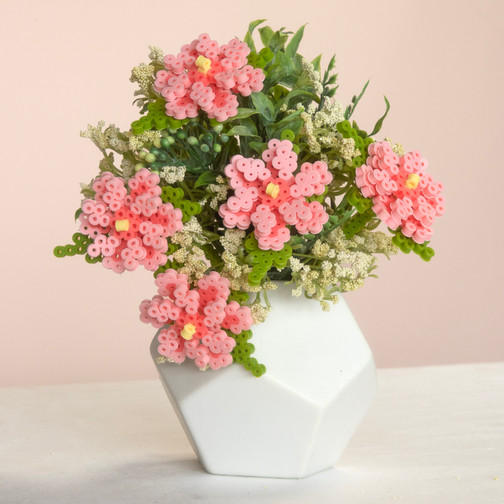
Spring Floral Bouquet

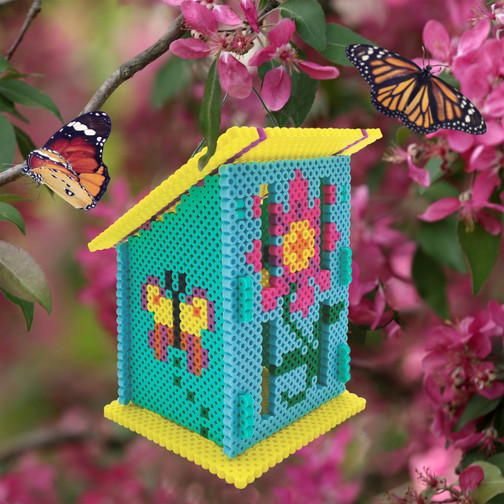
Flower Bird Feeder
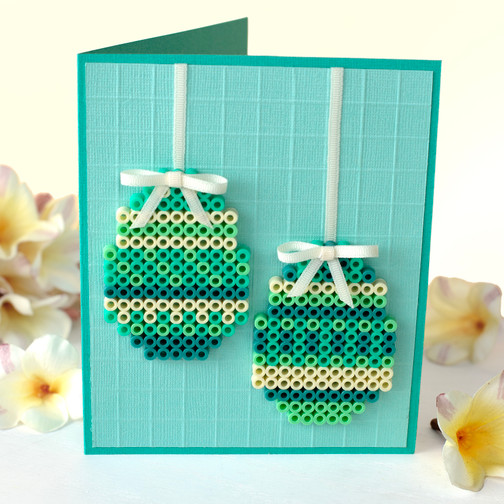
Easter Egg Card

Table Accent Mat

Snappix Geometric Wall Art

Pet Treat Caddy

Sweet Cupcake Topper Set
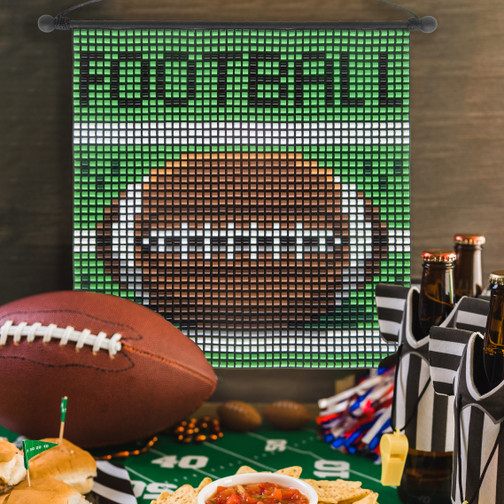
Snappix Football Sign
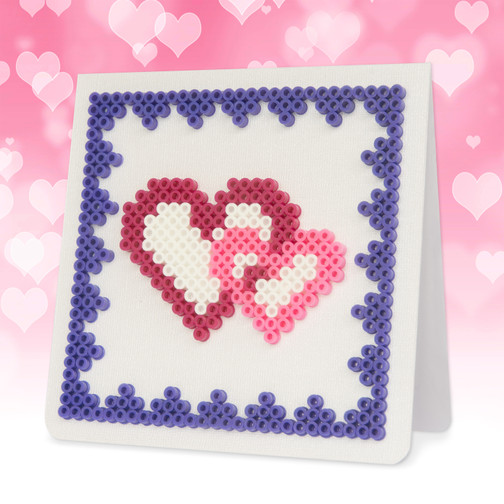
Valentine Hearts Card

Snowflake Suncatchers
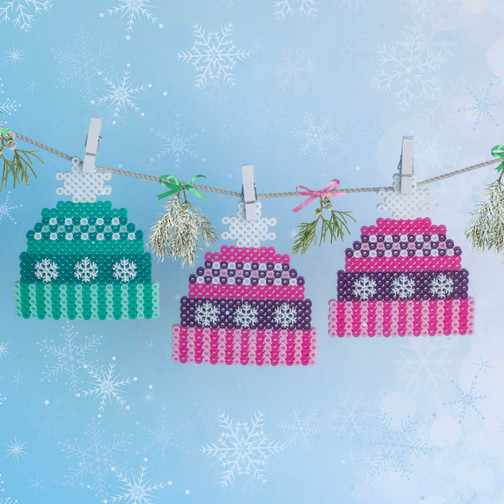
Winter Hats
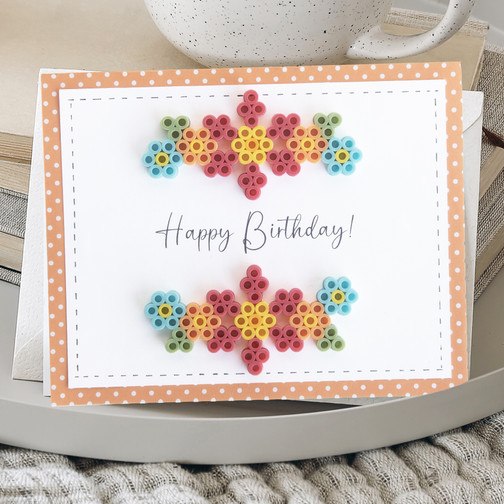
Floral Birthday Greetings
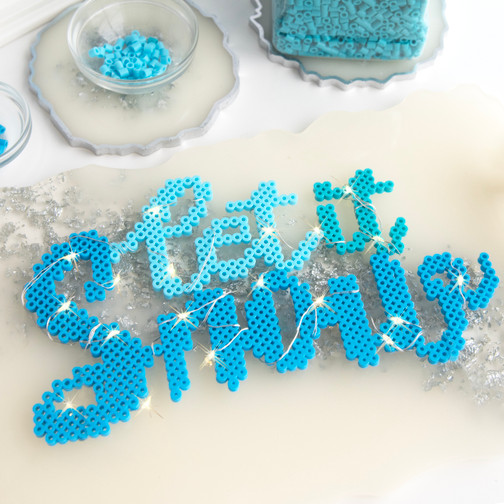
Let It Snow
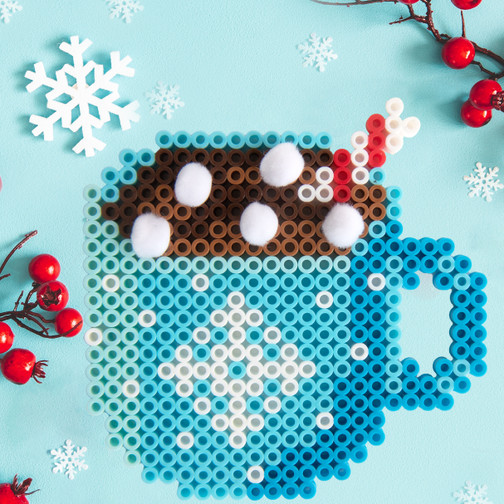
Hot Cocoa

Happy New Year Banner