Monster Truck Show
Vrooom! Hear the roar of the engines as these Monster Trucks power their way down the track. Fun, quick, and easy to make with Perler Beads 'n Rods, these colorful trucks will entertain little boys for hours!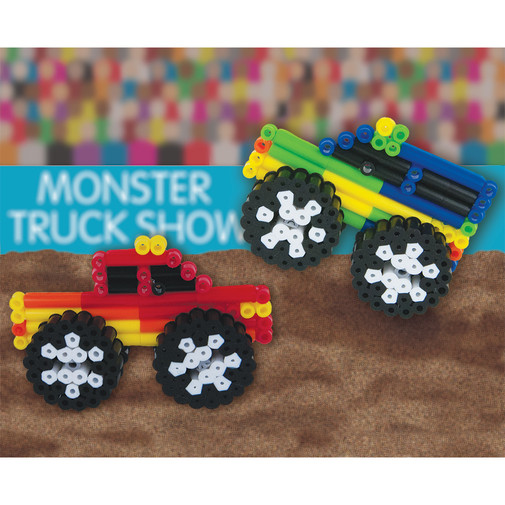
More Projects to Explore
-

Add this whimsical jungle-themed topper made with Perler fuse beads to a cake for a birthday celebra Jungle Cake Topper
-

It’s planting season! This pretty fuse bead container for seed packets makes a great gift for any g Seed Packet Container
-

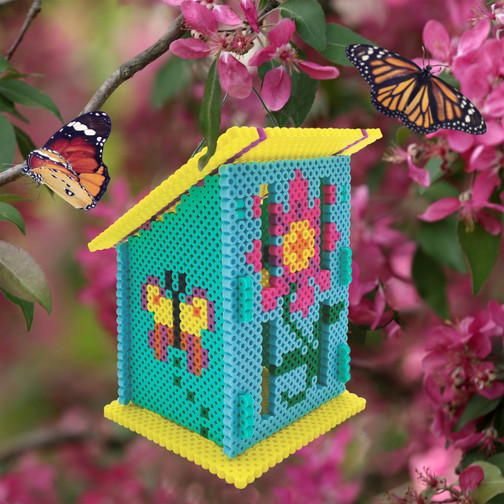
Welcome winged beauties to your garden with this pretty butterfly house made from Perler fuse beads Butterfly House
-

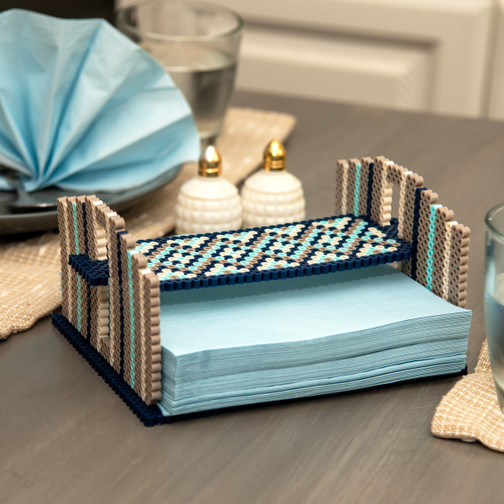
Keep your napkins secure and organized with a holder made from Perler fuse beads. Perfect for every Napkin Holder
-

This unicorn carousel made from Perler fuse beads will add a splash of color and a bit of magic to Unicorn Carousel
-

Add a garden-themed design to your door or wall with this unique hanger made from Perler fuse beads Watering Can Door Decor
-

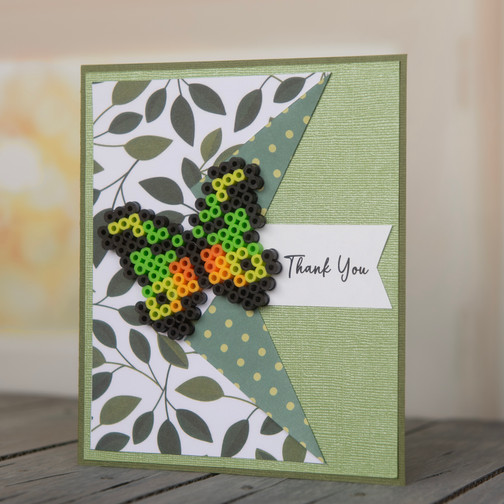
Express your gratitude with this stylish Thank You card that features a colorful fuse bead butterfl Butterfly Thank You Card
-

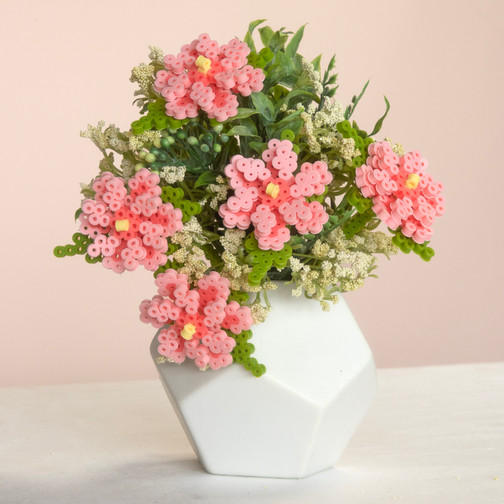
Spring is here! This 3-D floral bouquet made from Perler beads is the perfect way to welcome a new Spring Floral Bouquet
-

Welcome spring and the return of feathered friends with this flowery bird feeder made using Perler Flower Bird Feeder
-

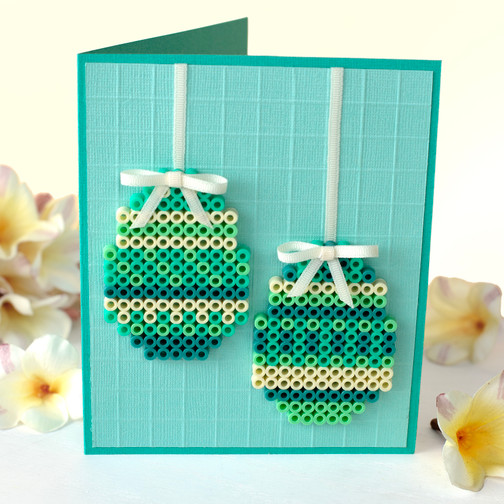
Patterned eggs are the focus of this Easter greeting card. Make several to share with family and fr Easter Egg Card
-

This contemporary design features apricot, which is a close match to the Pantone Color of the Year Table Accent Mat
-

Add simplistic elegance to your home décor with this framed Snappix geometric design. No ironing re Snappix Geometric Wall Art
-

Pets love treats! Use Perler fuse beads to decorate this clever container that holds treats for you Pet Treat Caddy
-

These heart-shaped toppers will make even the sweetest cupcake a little bit sweeter! This fuse bead Sweet Cupcake Topper Set
-

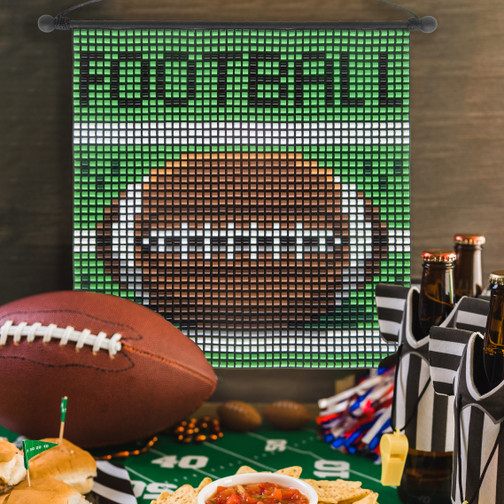
February is for championship football! Snap Perler beads into the flexible canvas to build your Sna Snappix Football Sign
-

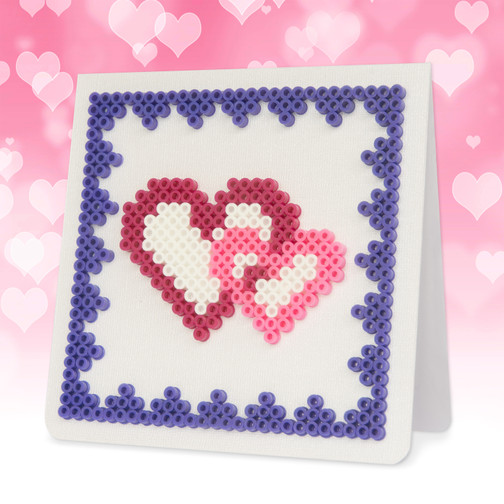
Create a sweet Valentine’s Day greeting using Perler fuse beads. It’s a great way to show your love Valentine Hearts Card
-

Create this unique Snowflake Suncatcher trio using Perler fuse beads. The opalescent insert will re Snowflake Suncatchers
-

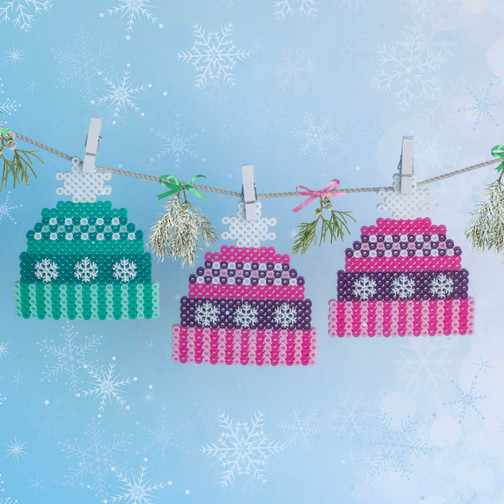
Create some fuse bead winter hats to decorate your space this winter. Add a magnet to the back, cli Winter Hats
-

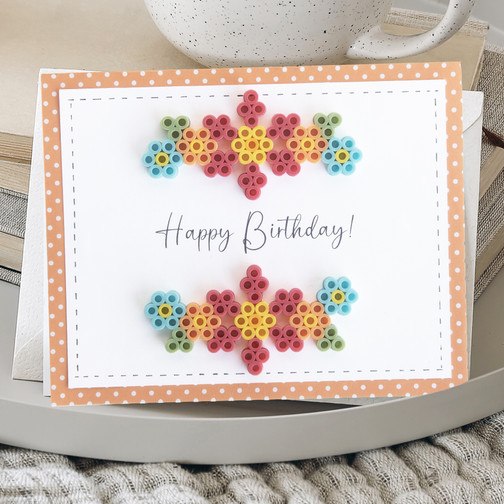
Make a handmade card for all the special people in your life with this easy-to-make birthday greeti Floral Birthday Greetings
-

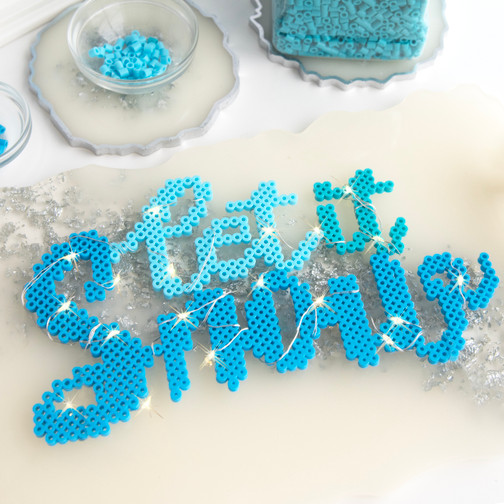
Fairy lights add the right amount of sparkle to this unique fuse bead décor that’s perfect for disp Let It Snow


